DIY-Do-It-Yourself-Self-Installed Shower Drain-Bathroom Drain-Drainage System Installation-Setup-Project: A Guide-Step-By-Step Manual-Comprehensive Handbook
DIY-Do-It-Yourself-Self-Installed Shower Drain-Bathroom Drain-Drainage System Installation-Setup-Project: A Guide-Step-By-Step Manual-Comprehensive Handbook
Blog Article
Almost everyone has got his or her own perception with regards to Simple Steps for Installing a Shower Base.
Upgrading a shower room is just one of the much more prominent house improvement jobs. Taking care of the plumbing for draining your shower can be extremely straightforward unless you go overboard.
Handling Your Own Shower Drain Installation Task
You can literally construct an enthusiast for your brand-new shower, however you truly require to think of it. Do you actually wish to enter the problems of getting the sloping correct, as well as making certain every element of it is waterproof? And I suggest every facet! It is much easier to simply acquire a pre-cast collection agency online or at your local Lowes, Residence Depot or equipment store. Structure one could sound like an excellent idea, yet you will most likely feel in different ways after a number of hours.
Regardless of exactly how you tackle getting a pan, you need to make every effort to use one that has the drainpipe located in the very same area as the original frying pan. Moving the drain pipelines can be a task, specifically if the building contractor utilized a special framing framework. If you are identified to relocate the drain, you are mosting likely to have to reduce the pipe or extend it, which may suggest ripping up huge pieces of the flooring. Put another way, you are going to be taking a look at a numerous weekend task.
Assuming we have our drainpipe lined up, the real hook up is relatively simple. The drain pipeline ought to be encountering vertical approximately the collector. It will commonly look like a "U", which indicates it acts as a cleanout to keep unpleasant scents from coming back up from the drainpipe. To attach the drain, you are mosting likely to create a water limited connection between a drainpipe cap on the top of the pan as well as the water drainage pipe. Solutions differ, yet you are usually mosting likely to do this by placing a coupling piece on the top of the water drainage pipe. This is then covered with gaskets as well as actually screwed right into the drainpipe cap. The drainpipe cap need to work as a locknut, to wit, it screws directly onto the coupling.
The difficult part of this procedure is obtaining your drain cap to suit a leak-proof placement in the frying pan. This is accomplished by backing off the drain cap as soon as you are sure everything fits together. At that point, you put plumbers putty around the underside of the cap and after that screw it back on. The putty ought to develop a limited seal between the cap and the shower pan, which keeps water from flowing under it and also into the framing under the shower.
Undoubtedly, shower room showers can be found in a wide variety of styles these days. If you purchase a collector, they often included plumbing directions or the store can keep in mind anything uncommon you need to recognize. It sounds complex, but is generally pretty straight forward. Have fun!
Whether you are a bath tub or shower individual, most people seek shower just alternatives when getting a house. This basic fact means more than a couple of house owners spend a weekend updating or mounting showers in their shower rooms. Luckily for you, it is a fairly simple procedure.
A collection agency or pan refers to the straight surface area located at the bottom of the shower. The enthusiast normally consists of a non-slip surface area somewhat banked towards the facility or anywhere the drain lies. Integrated with three to 4 inch wall surfaces around the side, the goal of your shower water drainage plumbing is to obtain the water to flow to and also down the tubes.
STEEL BUILDERS
properly installed shower drain can be the difference between staying dry and disaster. The water flowing down your shower drain requires a proper outlet connection; otherwise, you run the risk of flooding.
With so many different types of drains on offer nowadays (from linear shower drains to grates of all shapes and sizes), there are lessons to be learned about each type before installing one yourself. Whether it’s standard or custom, Steel Builders is here to help you install your shower drain.
SMALL FLOOR WASTES
Small Floor Waste drain products are available in various patterns and sizes to suit a wide range of uses. Welded from 316 stainless steel, these small floor waste drains provide minimal visual impact and a sleek finish that will make your bathroom or shower stand out.
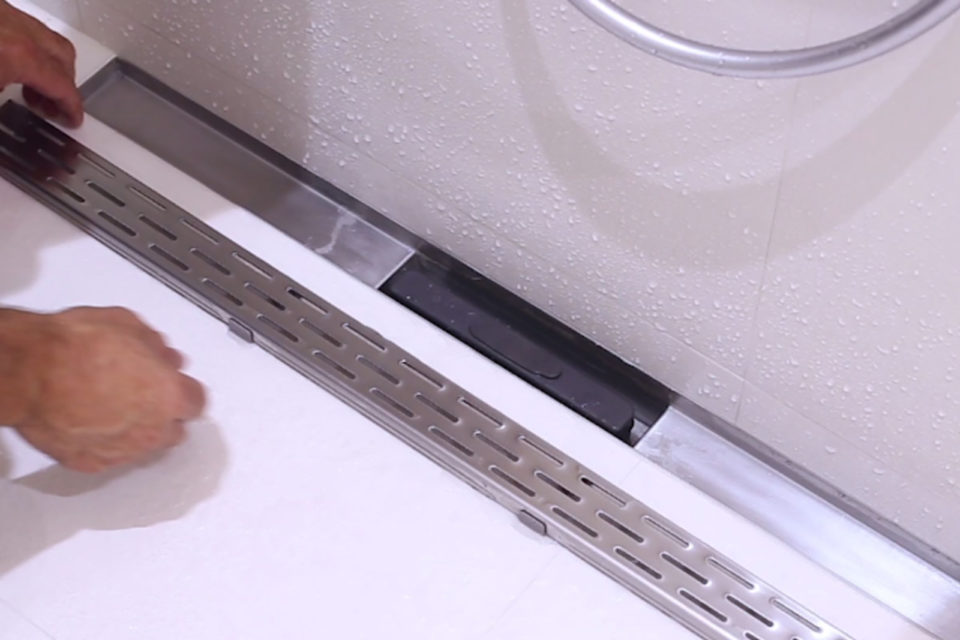
LINEAR SHOWER DRAIN
We’d love to tell you that you can just dig a hole, throw a grate on top and call it a day. But when it comes to installing a linear shower drain and grate, there’s a whole world of possibilities that go beyond functionality. Shower drains can actually add a great deal of value to your bathroom, with a variety of designs and finishes available. Get creative with your shower drains.
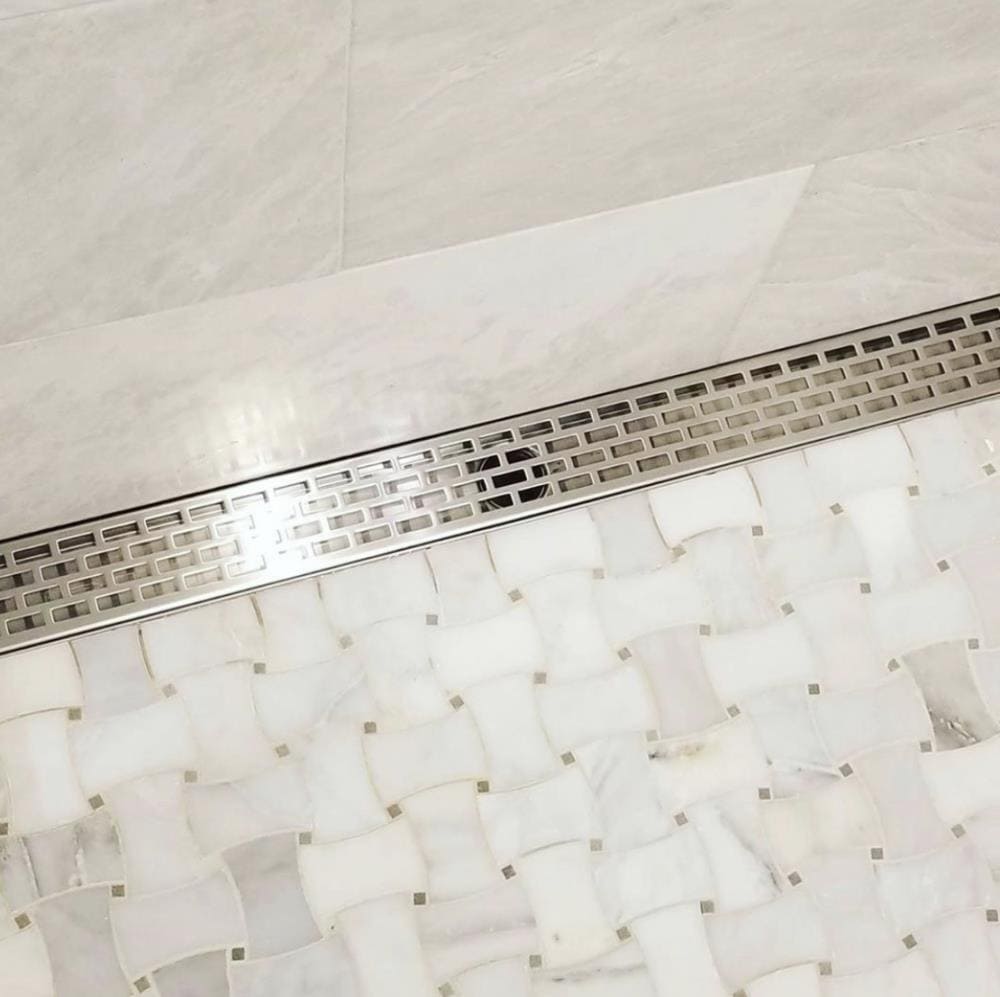
CUSTOM SHOWER GRATES
When a standard shower grate installation doesn’t work, you’ll need to consider a custom shower grate and drain modification to suit your application. We offer three top finishes: line patterns, heelguard or tiled inserts.
SHOWER GRATE INSTALLATION STEP BY STEP
https://www.steelbuilders.com.au/blogs/news/how-to-install-a-shower-drain-steel-builders
Hopefully you liked our post on Simple Steps for Installing a Shower Base. Thanks a lot for taking the time to read through our piece of content. Loved our article? Please share it. Let someone else check it out. I appreciate reading our article about How to Choose the Best Drain for Your Shower.
Report this page